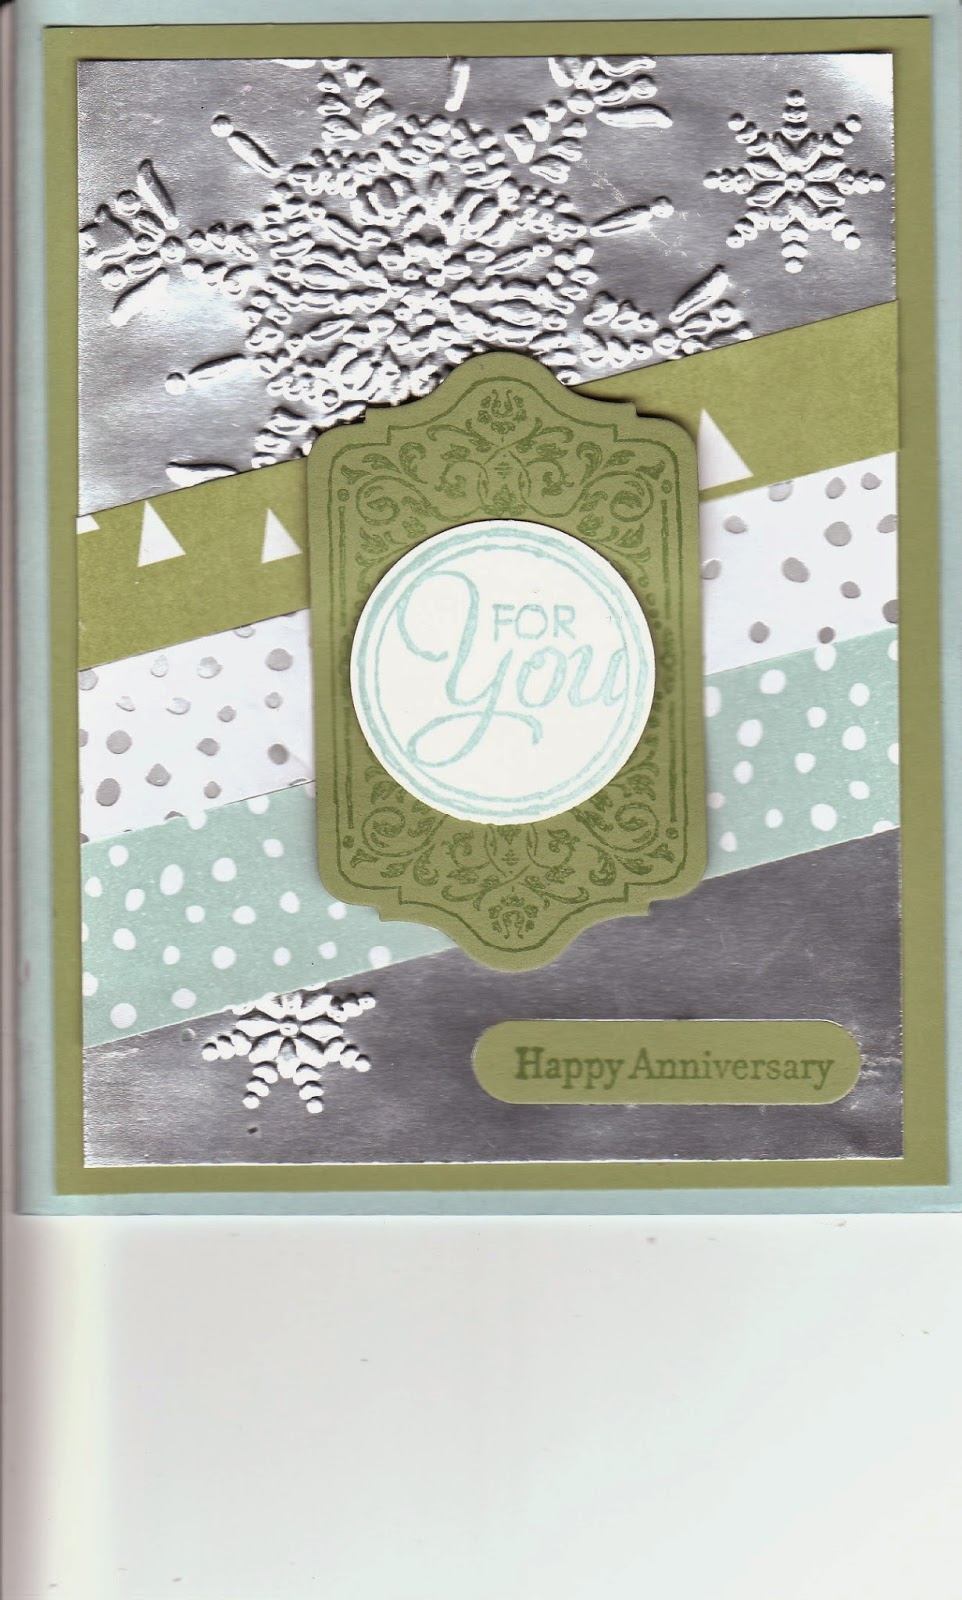
The card, above, was going to be one of the make-n-takes, until I realized I was totally out of Lost Lagoon card stock!
I DID have some Pear Pizzazz card stock, though! When you emboss the silver foil sheets...SOOO cool!
This snowman is made with All Is Calm Specialty DSP and a 2 1/2" circle cut in half. Just pop the white on the DSP and he's got a hat! We embossed the Pear Pizzazz with the Filigree Frame folder. It looks like snow is swirling around him!
This demo thank you card has a Snowflake Embellishment with a rhinestone jewel in the center. A little Dazzling Details Silver Sparkle gives it just enough bling!
Our last make-n-take used the Mosaic Madness set with the mosaic punch. We layered the stamped image over 2 Elegant Eggplant mosaic shapes. The Fancy Foil Designer Vellum adds an interesting touch to the background!
Happy Stamping!
Patrice
Tuesday, December 2, 2014
Monday, November 17, 2014
Stamping Fun Night November 2014
Lost Lagoon was the star on this card, above, along with the Six-Sided Sampler stamp set. And just a little bling peeking out the corners!
The All is Calm Specialty DSP looks like a holiday paper. But take a closer look and you'll see tons of possibilities! Pear Pizzazz is a perfect match-up!
A black and white Christmas card?! Why not! The rectangle is made with clear block H and Smoky Slate ink. And Lovely as a Tree looks...lovely on this card!
It was a fun night of stamping and visiting!
Happy Stamping!
Patrice
Monday, November 3, 2014
Stamp Club November 2014
The Fancy Foil Designer Vellum is a great background for this card. Use adhesive on the back of the circles. Your vellum will stick, but you won't see the adhesive! The pumpkin is made with the large oval punch. And that's the All is Calm DSP behind the pumpkin!
Clear emboss on black, using the VersaMark pad gives a different effect. This is a quick and easy card when you need a sympathy card, or to make ahead so you have a few on hand. Try switching out the colors if you want the same effect but with brighter colors.
I just love these little snowflake charms!! Add some snowflakes from the All is Calm DSP and you're ready for winter. Or at least the card is! :)
Use sponges and ink pads to make this pretty autumn background. I used Crushed Curry, Cherry Cobbler, and Mossy Meadow. Swirl the sponge in a circle as you go to blend the colors better. Then add a slightly larger piece of Very Vanilla behind, tear the edges, and mount on Basic Black and Mossy Meadow card stock.
It was another fun night stamping with Stamp Club!
Happy Stamping!
Patrice
Thursday, October 2, 2014
Christmas Stamp-A-Stack October 2014
These are the cards you will make at the October 8, 2014 Christmas Stamp-A-Stack. You will make one of the Happy New Year snowflake card and three of each of the others (10 total). For the Santa card you can make it with or without the beard! The cost is $18. Send in your registration by October 4th and get the Early Bird Discount ($15)! We will be at Mountain Bay School in the multipurpose room from 6-8 pm. I hope to see you there!
Happy Stamping!
Patrice
Monday, September 15, 2014
September 2014 Stamping Fun Night
These cards are quick and easy. Just attach DSP to the front of a card, and add a tag with dimensionals! I like it with just the punched image AND with the punched image attached to the tag!
We used a Decorative Mask to make the Daffodil Delight stars. What a fun way to add some pizzazz to a card!
To make the Thank You card, emboss the vellum card stock with the Filigree Frame from the Holiday catalog. Then cut out the center with Labels Collection Framelit. Attach to the card with mini brads, stamp the words, add a bow, and you're ready to send it out!
Happy Stamping!
Patrice
Sunday, August 17, 2014
Stamping Fun Night August 2014
This card is easy, but you'll want to make sure you use the stamp-a-ma-jig to line up the swirls! You can do it! The stamp-a-ma-jig is our friend!! Try this layout with a leaf and fall colors instead of an anchor! Colors: Night of Navy, Coastal Cabana, and Real Red.
We used Blendabilities to color in the flower, above. You get 3 shades of the same color, and the alcohol-based markers make it easy to blend! Colors: Old Olive, Rich Razzleberry, Whisper White.
We embossed the Thank You, then used an AquaPainter and ink (from the lid of the ink pad) to make a watercolor wash over the words. The ink does not absorb into the embossed image. Colors: Hello Honey, Soft Suede, Brushed Gold, and Very Vanilla. the Thank You is embossed in gold and the hearts are stamped in Soft Suede.
It was a fun afternoon of stamping! Hope to see you at the next Stamping Fun Night!
Happy Stamping!
Patrice
Wednesday, June 25, 2014
Anna and Melinda's Party, June 2014
This washi tape card was a demonstration card. Love the bling with the Gold Sequin Trim!
The Work of Art set was used in the make-n-take, above. Stamp-off the image to get a lighter shade!
A graduation card made with the Hearts and Stars Decorative Mask was another make-n-take.
This card makes me think, "Summer!".
Happy Stamping!
Patrice
The Work of Art set was used in the make-n-take, above. Stamp-off the image to get a lighter shade!
A graduation card made with the Hearts and Stars Decorative Mask was another make-n-take.
This card makes me think, "Summer!".
Happy Stamping!
Patrice
Monday, June 2, 2014
New Catalog Workshop June 2014
The card, above, was a demo. It's a quick and easy card using all of the new InColors!
How do you get that background?? First, use an aquapainter and ink to make a watercolor wash background. While it's still wet, sprinkle some salt on it. Any kind of salt will do! We used regular table salt. When it dries, brush off the salt. The salt absorbs some of the color and gives a neat effect.
Use the Work of Art stamp set and one ink color (plus StazOn jet black) to make this card! Just stamp, the stamp 3 more times without reinking. This card is made with a new InColor, Mossy Meadow.
Groovy, man! This card uses the tie-dye technique. Rub ink in circles with a sponge. Then use an aquapainter to make circles. It bleeds a little, giving a tie-dye effect.
It was a great night of stamping at the New Catalog Workshop!
Happy Stamping!
Patrice
Sunday, May 4, 2014
May Fun Night 2014
The card, above, has a unique fold. The card base is 9 1/2 x 4 1/4. Score at 2 3/4, 4 3/4, 5 3/4, and 6 3/4. Fold the sides in, then attach just the center of the flower image to the center of the folded card base. It fits in a medium envelope! Thank you to Gail B. for the great idea!
The 2 1/2" circle punch was used for the circle of Quartrefancy DSP. I love the sparkle of the glimmer paper!
stamps:
Backyard
Basics
Teeny
Tiny Wishes
paper:
Marina
Mist
Old
Olive
Naturals
Ivory
ink:
Marina
Mist
Old
Olive
Staz-On
jet black
accessories:
Very
Vanilla medium envelope
Simply
Scored
Big
Shot
Embossing
Folder- Delicate Designs
Aqua
Painter
dimensionals
stamping
sponge
The 2 1/2" circle punch was used for the circle of Quartrefancy DSP. I love the sparkle of the glimmer paper!
stamps:
Banner
Greeting
paper:
Early
Espresso
Naturals
White
Glimmer
Paper- Champagne
Quartrefancy
Specialty
ink:
Early
Espresso
accessories:
Very
Vanilla medium envelope
punch-
2 1/2 “ circle punch
ribbon-
1/8” taffeta Early Espresso
paper
snips
mini
glue dots
The stamp is from the Ronald McDonald set Tag-It! $3 from each stamp set purchased is donated to the Roald McDonald House. A great cause and a great stamp set! Look for a new McDonald House stamp set in June! The flower pot was made with the Cupcake Builder punch.
paper:
Basic
Gray
Primrose
Petals OR
Strawberry Slush
Old
Olive
Very
Vanilla
ink:
marker-
Basic Gray
marker-
Primrose Petals OR
Strawberry Slush
marker-
Chocolate Chip
accessories:
Very
Vanilla medium envelope
Big
Shot
Sizzlit-
Little Leaves
punch-
Itty Bitty Shapes
punch-
Cupcake Bulider
ribbon-
¾” chevron-Smoky Slate
mini
glue dots
2-way
glue pen
dimensionals
paper
snips
It was a fun afternoon of stamping and socializing!
Happy Stamping!
Patrice
Monday, April 21, 2014
April 2014
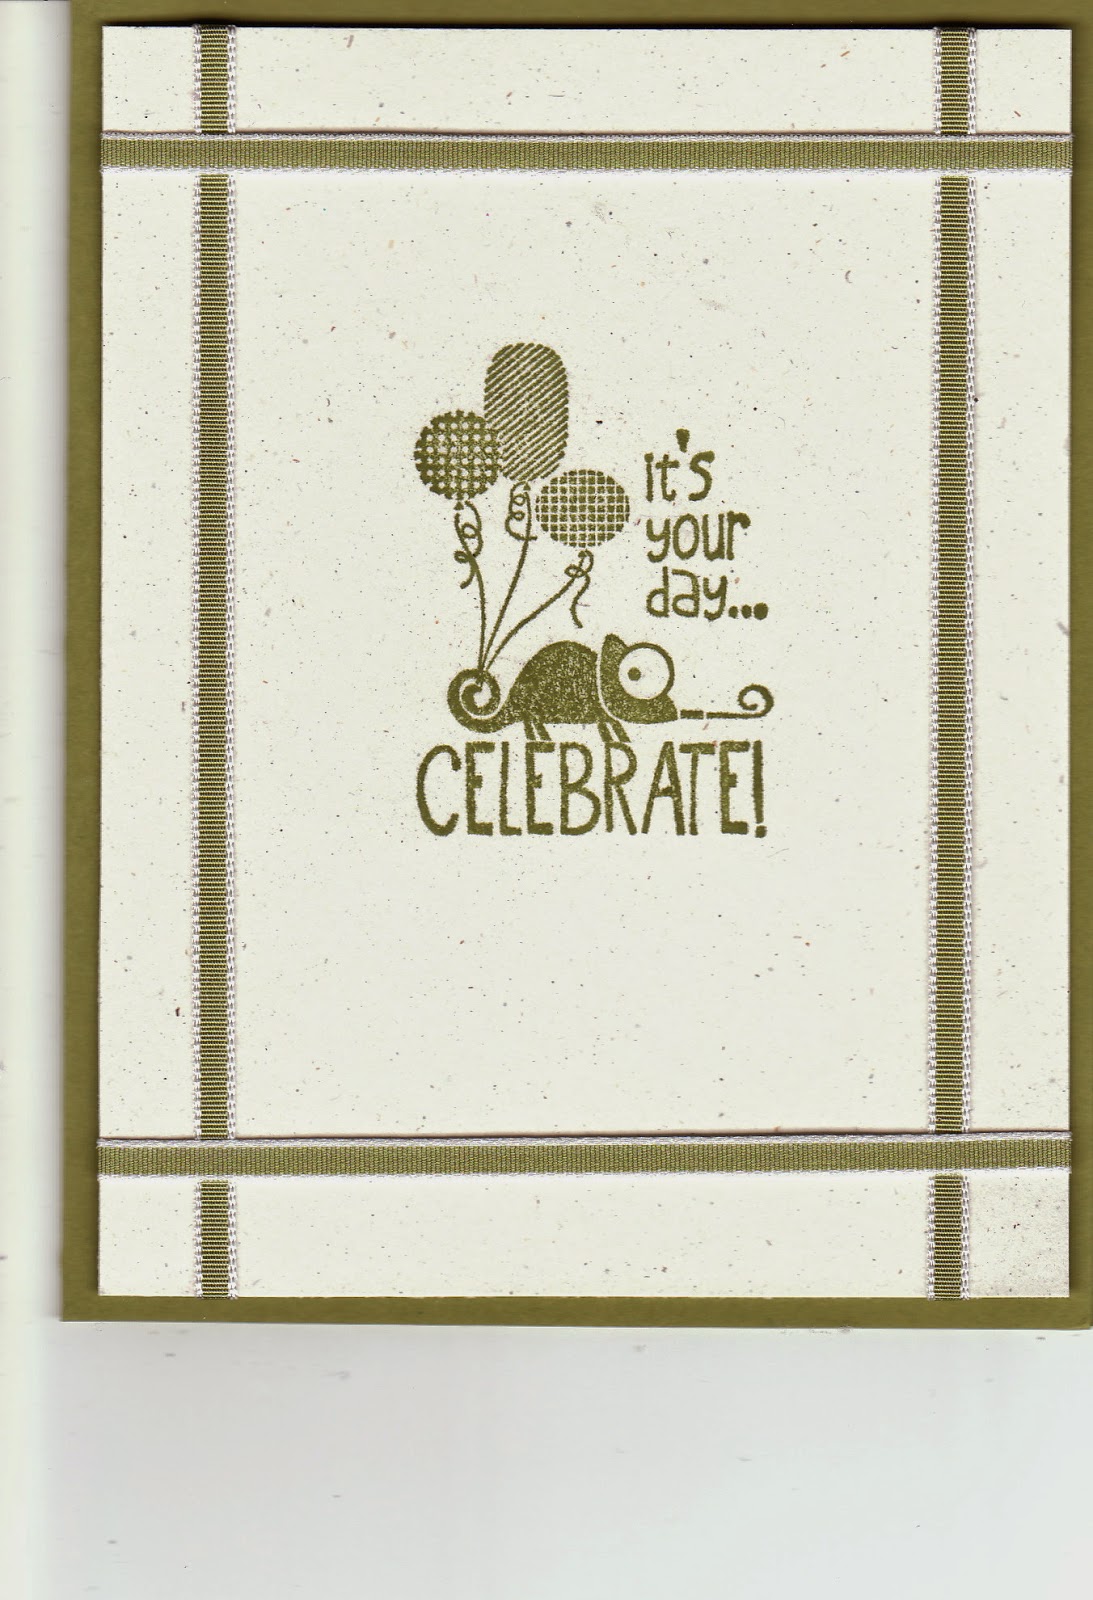
This card, above is quick and easy! Stamp an image in the center. Then use coordinating ribbon to add a border!
The hexagon punch is MUCH easier than cutting out the hexagon! Plus, you can use the punch with Designer Series Paper (DSP). The background is Gorgeous Grunge.
Triple Time Stamping! This card is monochromatic, but it looks great with multiple colors, too. Here how-to:
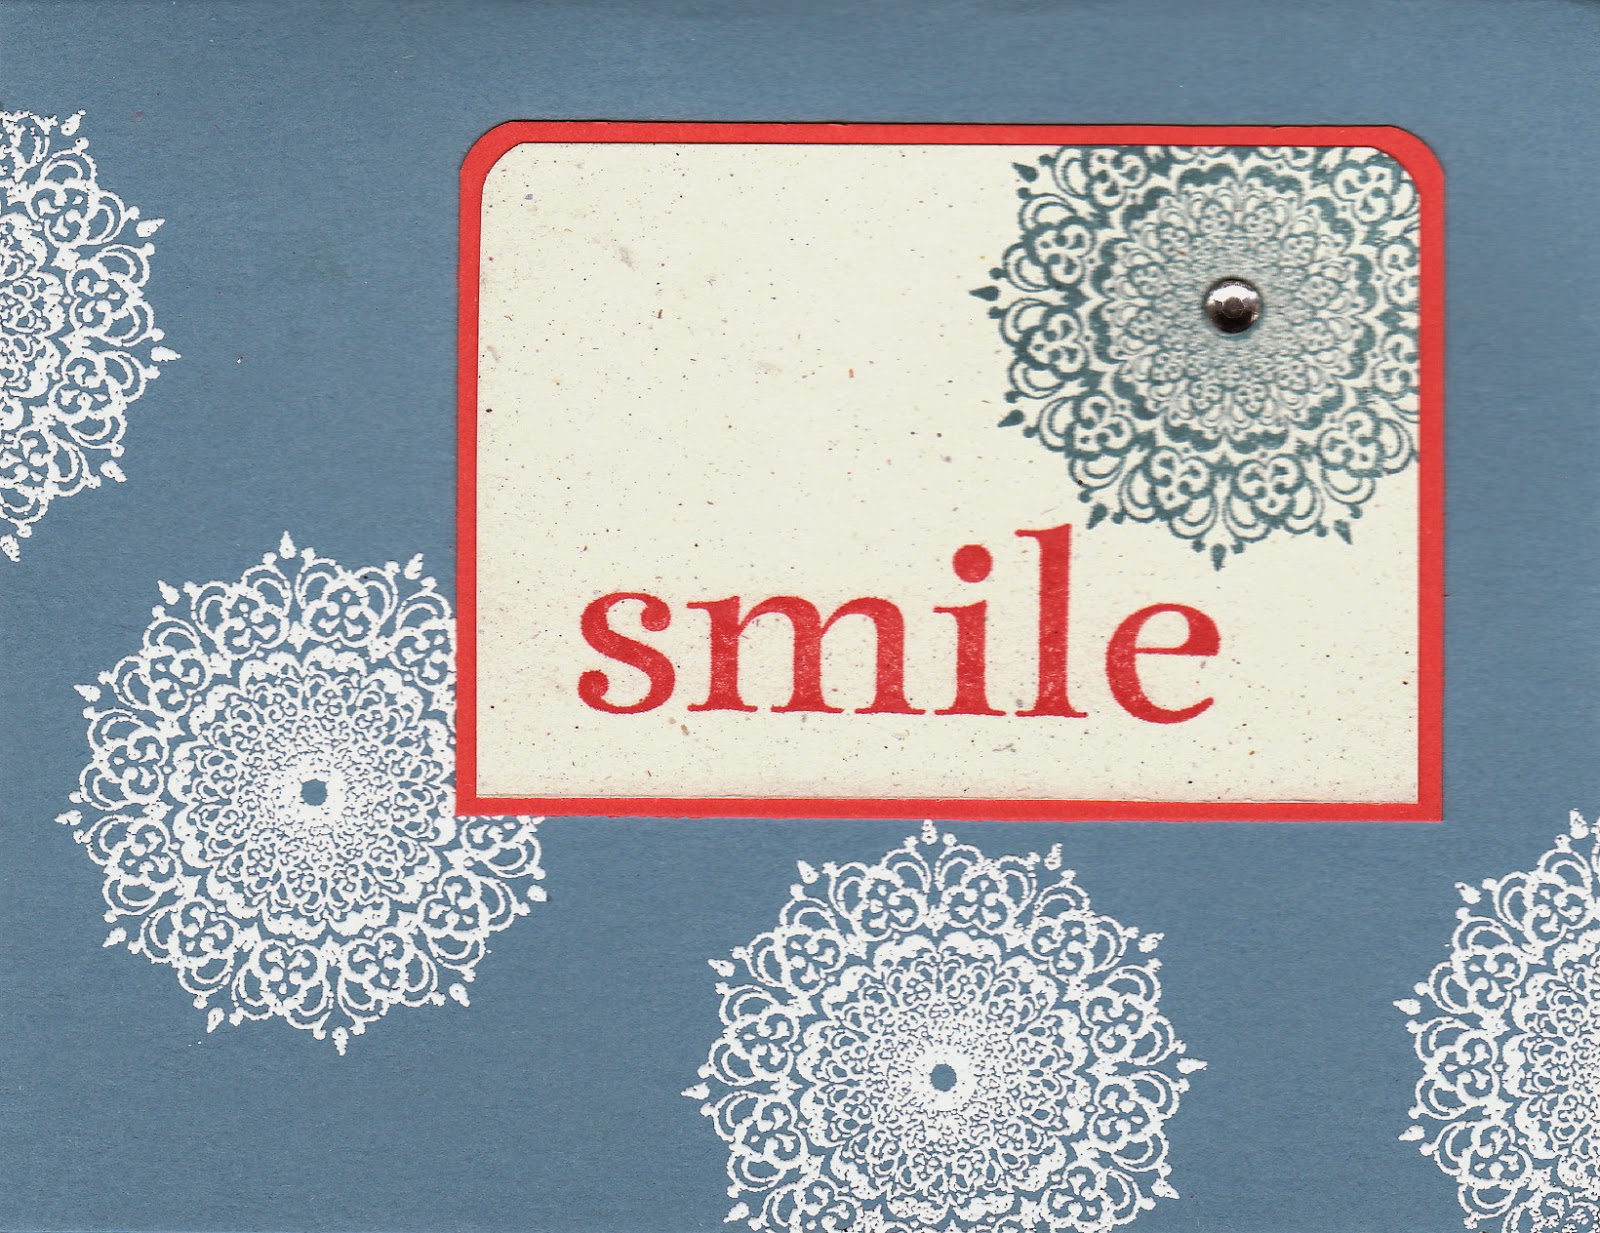
Smile! A little embossing make this card pop!
Happy Stamping!
Patrice
The hexagon punch is MUCH easier than cutting out the hexagon! Plus, you can use the punch with Designer Series Paper (DSP). The background is Gorgeous Grunge.
Triple Time Stamping! This card is monochromatic, but it looks great with multiple colors, too. Here how-to:
top layer- 2 x 3 ¼
(mat
is 2 ¼ x 3 ½)
middle layer- 3 x 4 ¼
(mat
is 3 ¼ x 4 1/2 )
bottom layer- 4 x 5 ¼
(mat
is standard card base)
Lightly
adhere all of the layers together with a small amount of adhesive. Stamp your design, making sure you
stamp on more than one layer. Take
layers apart and attach to the mats.
Then layer all together.
Smile! A little embossing make this card pop!
Happy Stamping!
Patrice
Wednesday, April 9, 2014
Stamping Fun Night April 2014
We made the card, above, as a make-n-take. Quick and easy, but it looks great!
I demonstrated the card, above. The background is direct-to-paper. Just rub the ink pad on the paper!
The card, above, was another make-n-take. Stamp the image on a square piece of card stock. Cut into fourths. Use the corner rounder punch to make 2 of the sides curved. Put it all together and it is a card that makes you look twice!
Stamping Fun Night was fun! Thanks to all those who attended. It was great stamping with you!
Happy Stamping!
Patrice
Wednesday, March 12, 2014
March Stamp Club
This make-n-take was made by attaching paper scraps to a piece of card stock, and then running it all through the Big Shot. I love the way the banner punch adds some fun color under the words!
The Sweet Sorbet DSP in the Sale-A-Bration catalog was used to make the "thankful for you" card.
For this card, we used a jumbo wheel to make the design in the center. The rest is Basic Gray, Smoky Slate, Whisper White, and a little silver ribbon from the Occasions catalog to add some sparkle!
It was a fun night stamping with Stamp Club!
Happy Stamping!
Patrice
The "hello" card was made with the Good as Gold card kit from the Sale-A_Bration catalog!
The Sweet Sorbet DSP in the Sale-A-Bration catalog was used to make the "thankful for you" card.
For this card, we used a jumbo wheel to make the design in the center. The rest is Basic Gray, Smoky Slate, Whisper White, and a little silver ribbon from the Occasions catalog to add some sparkle!
It was a fun night stamping with Stamp Club!
Happy Stamping!
Patrice
Saturday, February 15, 2014
February 2014 Stamp Club
It's hard to see on the card, above, but there are score marks on the bottom 2/3 of the card. The flowers are made with scallop circle punches.
Some DSP makes this card quick and easy!
It's been cold and snowy, so a little sunshine and green grass was needed! The sun is made with a circle punch, the Bammer Blast stamp set, and the banner punch.
I had Todd find some leaves in the backyard. There's always some oak leaves floating around our yard! We used a brayer to apply ink to the leaves, then stamped on a masked area of the white card stock to make a background border. The oak leaf image was stamped with Baked Brown Sugar, stamping off as we moved to teh outside.
Happy Stamping!
Patrice
Sunday, February 9, 2014
Sale-A-Bration Stamp-A-Stack February 2014
The Sale-A-Bration Stamp-A-Stack will take place on Friday, February 28, 2014 at the Mountain Bay School multipurpose room. We'll get started at 6:00 and finish up by 8:00. You will stamp 10 cards (see cards below). The cost is $17 (early bird special is $15 before 2/21). Please get your registration and payment to me no later than February 26th. Contact me at patricepierce@fastmail.fm for more information. Hope to see you there!
Make 1 of the cards, above, at the Stamp-A-Stack.
Make 3 of the cards, above, at the Stamp-A-Stack.
Make 3 of the cards, above, at the Stamp-A-Stack.
Happy Stamping!
Patrice
Subscribe to:
Posts (Atom)


