Sunday, October 21, 2012
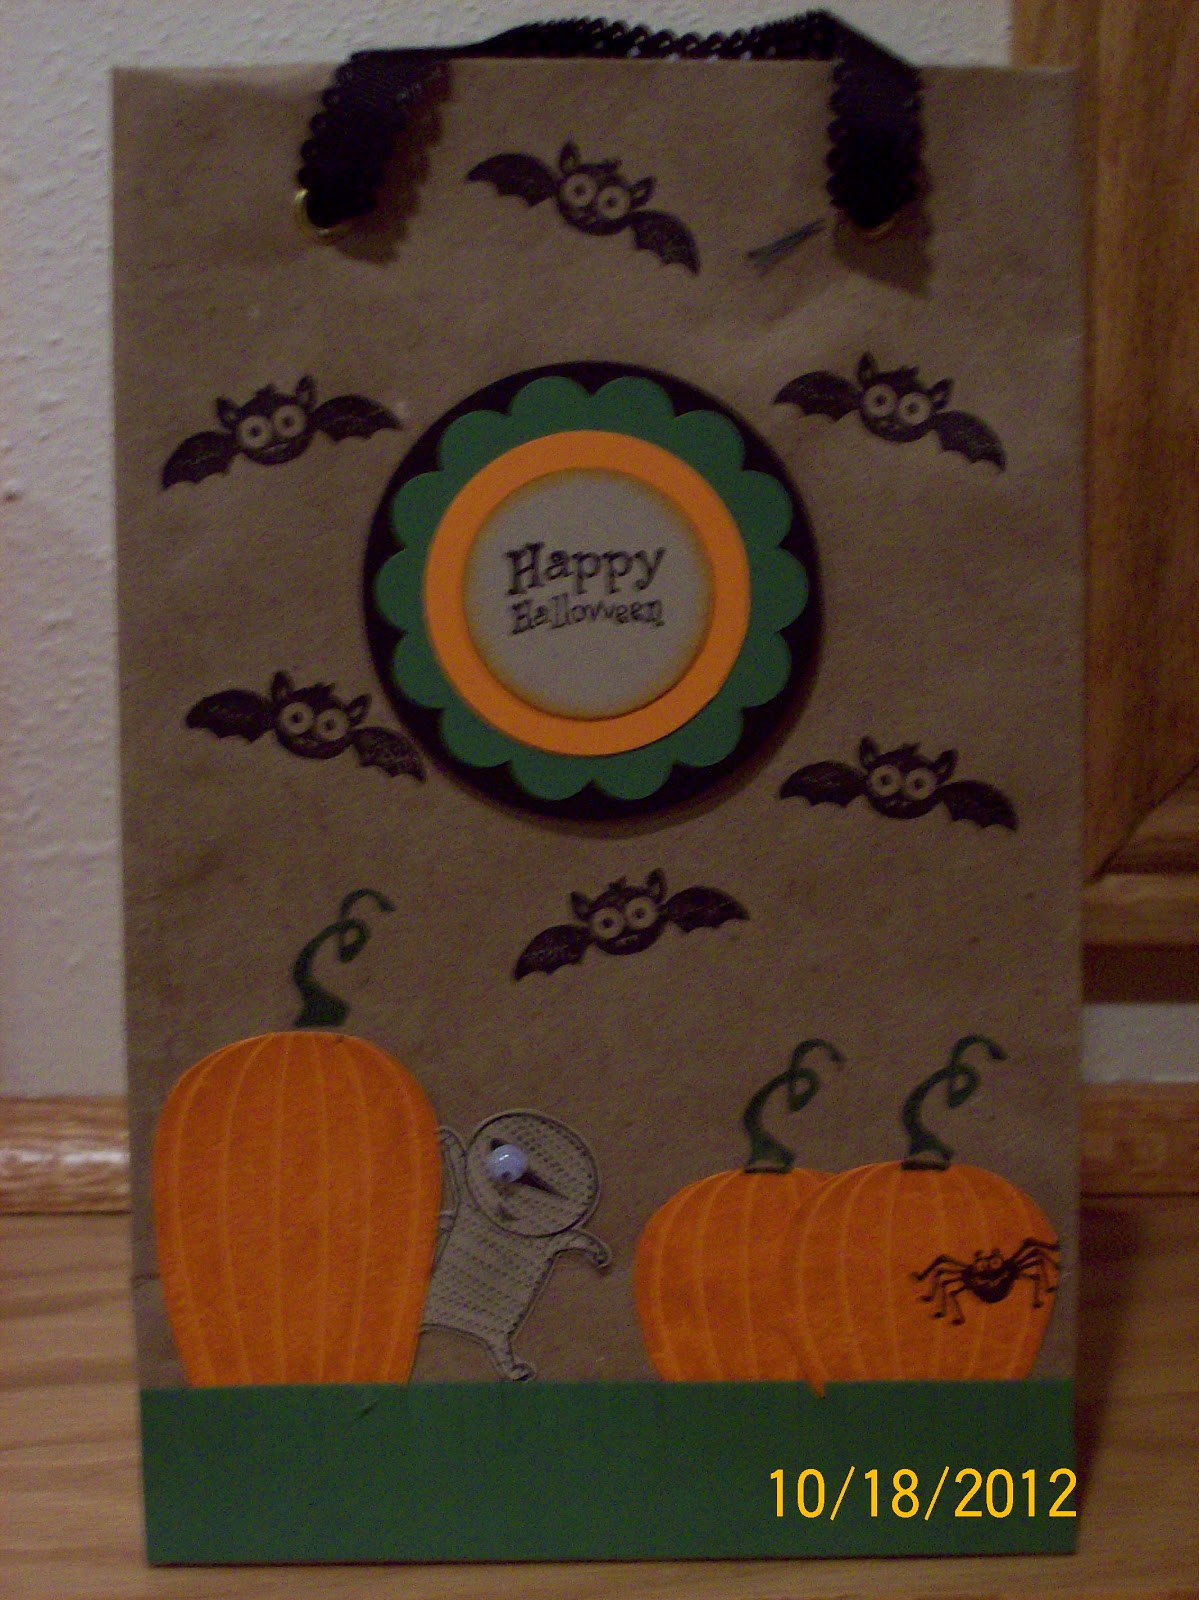
Halloween Bag
Tuesday, October 2, 2012
Christmas Stamp-A-Stack October 2012


DSP makes this card easy! There's no way I would ever stamp all of those red and green circles. But I sure like the way it looks! You will make 3 of this card.
Stamp-A-Stack registration info
The Christmas Stamp-A-Stack will be held on Friday, October 12, 2012 from 6:00-8:00pm at Mountain Bay School. You will stamp 10 cards with envelopes. The RSVP deadline is October 10th.
Cost: $17 (Early Bird Special- Register and pay on or before Sunday, October 7th and the cost is just $13!).
Contact me to register or if you have any questions.
Happy Stamping!
Patrice
Monday, September 24, 2012
Stamp Club September 2012


Happy Stamping!
Patrice
Monday, September 17, 2012
Private Card Class September 2012


 These are the 4 cards you will make at the Private Card Class on September 20th. The RSVP deadline is Tuesday, September 18th, so let me know asap if you plan to come! At the Private Card Class you can choose to pay $10 or make the cards for FREE with a minimum purchase of $25. A Private Card Class is what your friends are hoping you'll have, so let me know when you want to schedule your own Private Card Class!
Happy Stamping!
Patrice
Sunday, August 26, 2012
Christmas in August-Roxie's party
 This ornament is a very simplified version of the ornament on the 2012 Holiday catalog. These ornaments are fun to make, but a little time consuming. Once you make one, though, you'll want to make more!
 Lovely as a Tree is a great stamp set for holiday/winter cards! To make the moon, I stamped the trees, punched a circle of a post-it to use as a mask, then sponged with Tempting Turquoise. Remove the mask and you have a moon! The glimmer in the snow is Dazzling Details Silver Sparkle from the Holiday catalog.
 The tree on this card is 3-D! Stamp and punch three times, fold in half, and attach together. This is the same technique that was used on the ornament.
 Triple Time Stamping!!! This technique is quick and easy to do. Layer the lighter card stock with a small amount of adhesive. Then stamp, stamp, stamp! Take the layers apart and attach to a slightly larger piece of coordinating card stock. There are so many stamp sets that this would look great with!
Happy Stamping!
Patrice
Subscribe to:
Comments (Atom)