
stamps:
In the Country
paper:
Crumb Cake
Watercolor Paper
Very Vanilla (inside)
Basic White (for technique)
By the Bay Designer Paper
Lovely Layers Vellum
ink:
Memento Tuxedo Black
Stampin’ Blends (all Dark): Balmy Blue, Daffodil Delight, Pool Party
Watercolor Pencils
accessories:
medium envelope-Very Vanilla
punch-Flowers and Leaves
blender pen
heat tool
Stampin’ Spritzer with rubbing alcohol
Brushed Metallic Dots
Take Your Pick
mini dimensionals
Adhesive Sheets
TIPS:
-This technique is called Misted Marker. See the tutorial on splitcoaststampers.com.
-Use the Stamparatus to line up the paper and Adhesive Sheets. A small sharp tool is good for removing the backing.
-I use a wood block to protect the table/work surface.

stamps:
Celebrating You
paper:
Starry Sky
Basic White
Dainty Flowers Designer Paper
ink:
Starry Sky
accessories:
medium envelope- Basic White
2022-2024 In Color Matte Dots
Take Your Pick tool
Beautiful Shapes Dies
Metallic Woven Ribbon Starry Sky
Lucky Clover Punch (or retired heart punch)
sponge dauber
dimensionals


stamps:
He’s All That
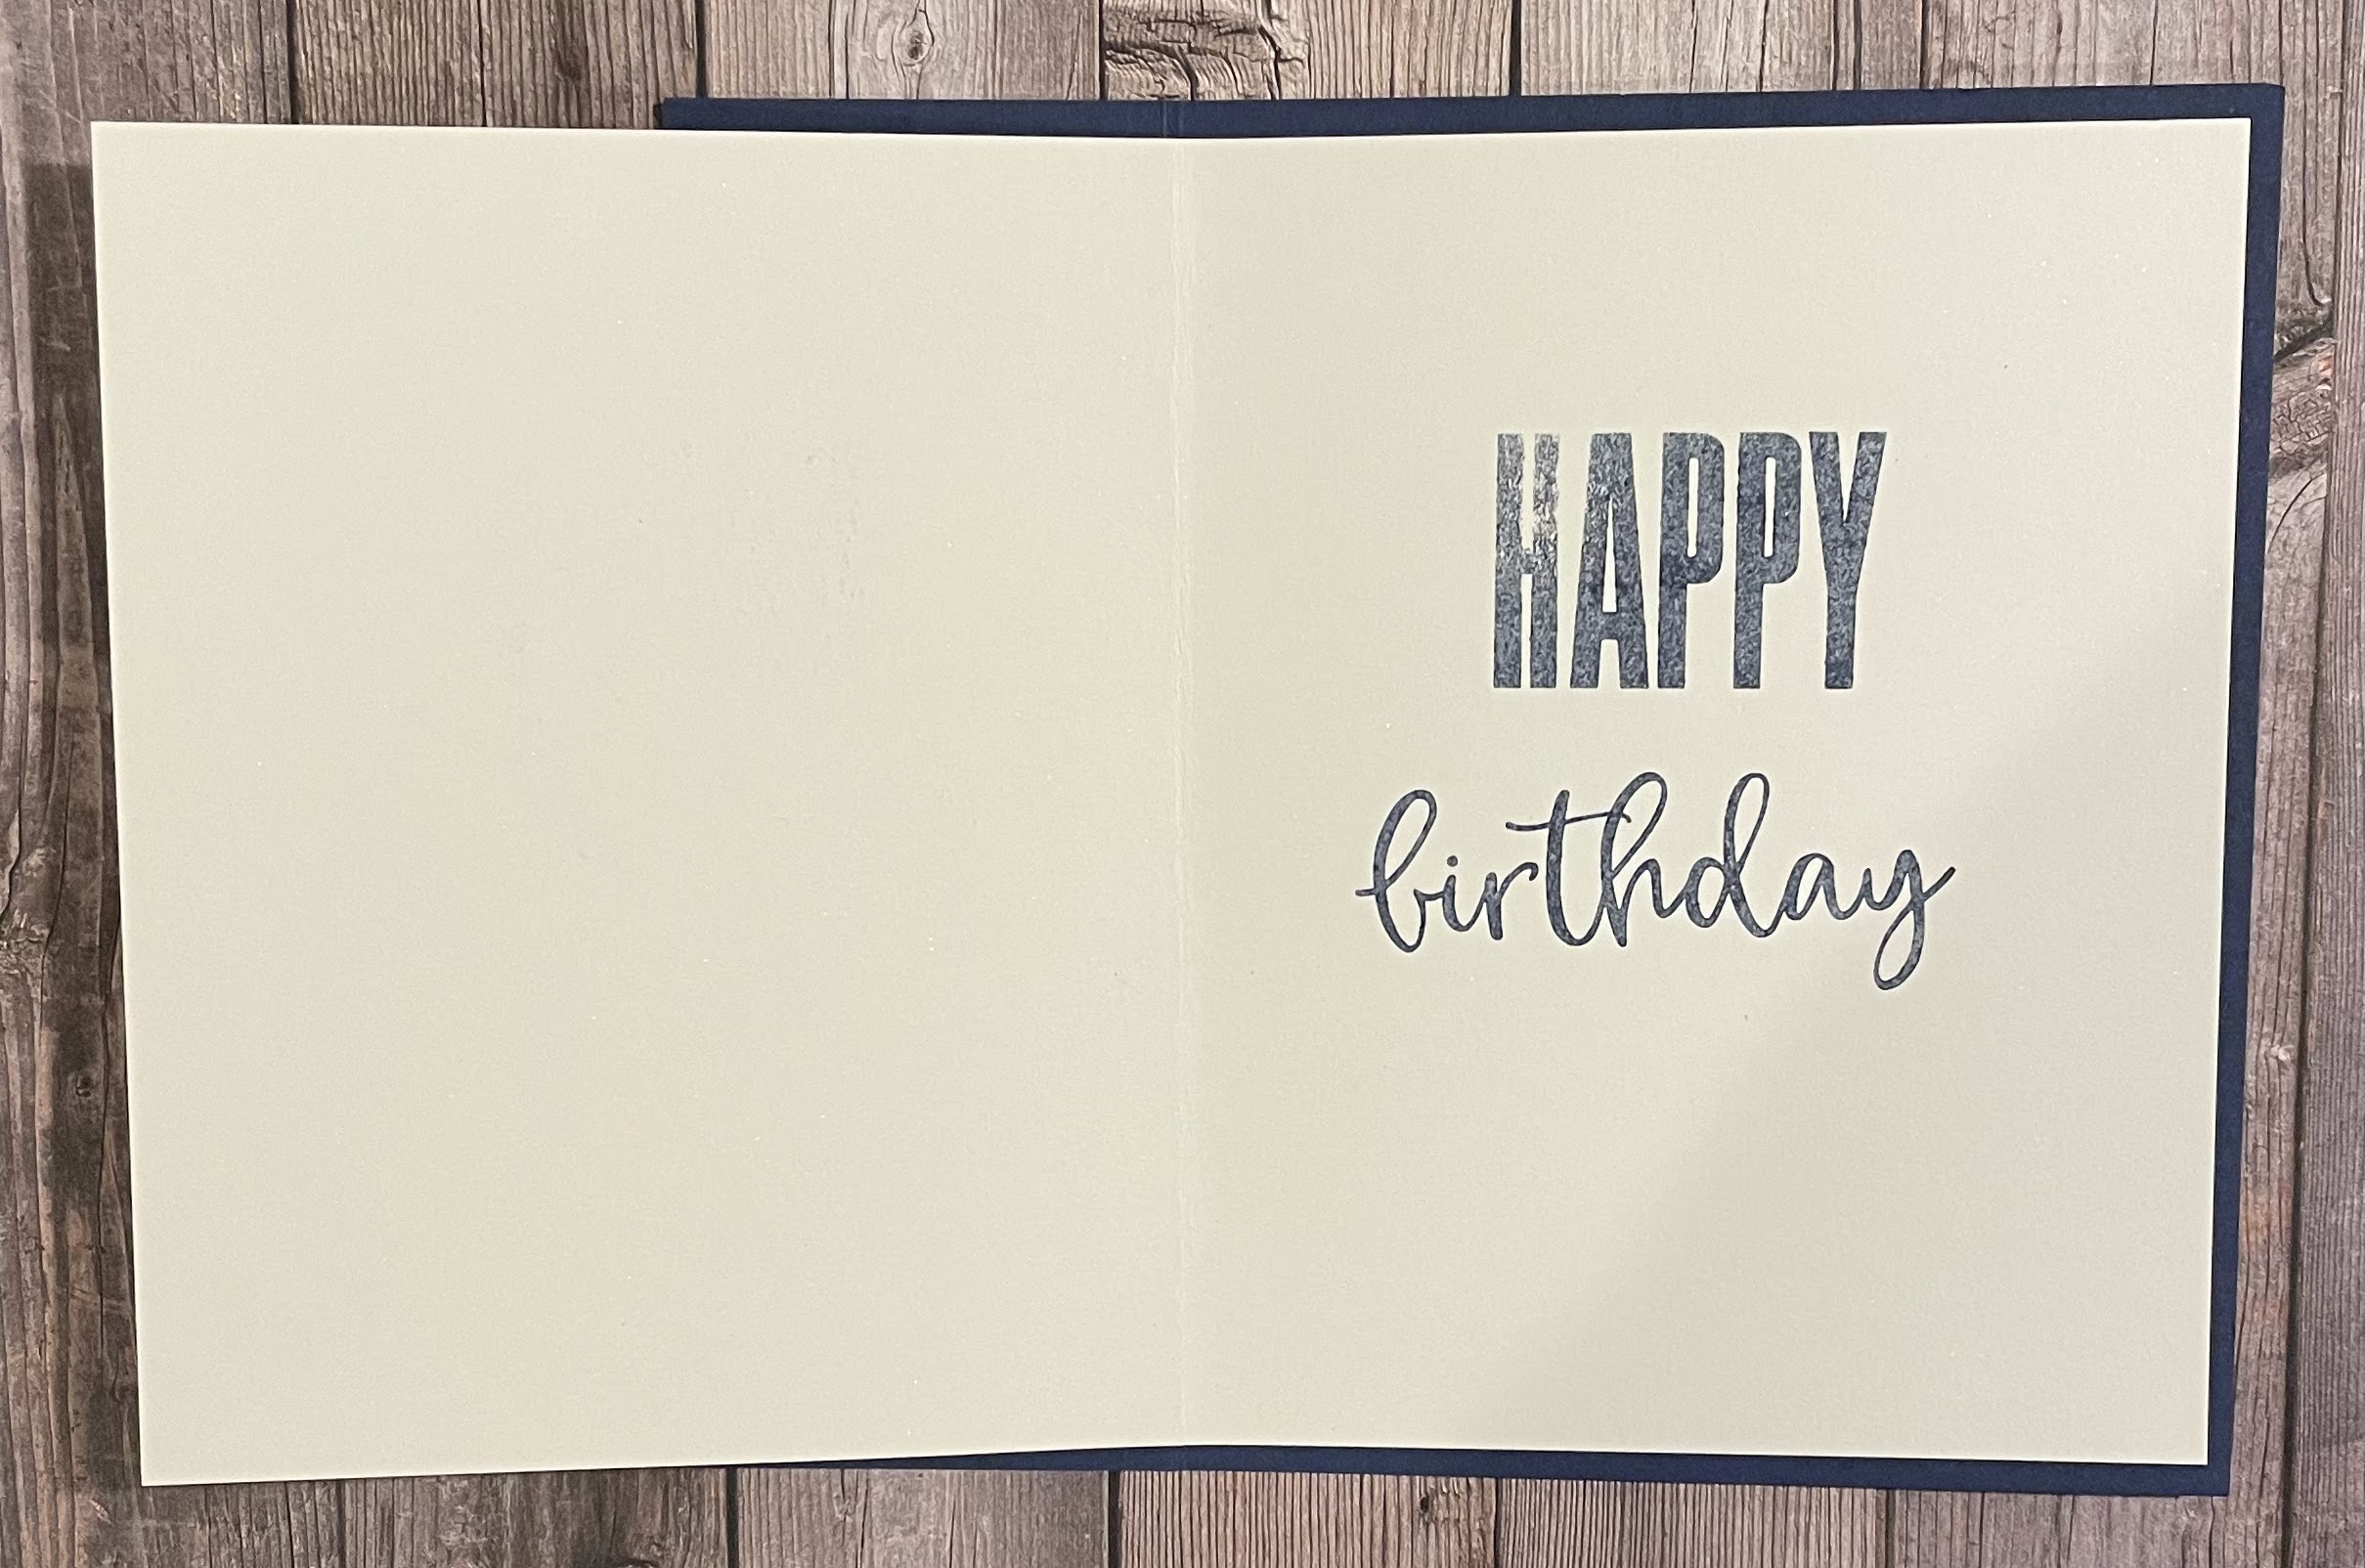
Beautifully Happy (inside words)
paper:
Cajun Craze
Early Espresso
He’s the Man Designer Paper
Very Vanilla
ink:
Early Espresso
marker-Early Espresso
accessories:
medium envelope-Very Vanilla
Shimmer Ribbon-Gold
Brushed Metallic Dots
dimensionals
TIP:
Set the ribbon and words on the front of the card to get the right placement. Then attach the ribbon.


stamps:
Biggest Wish
Season of Chic
paper:
Night of Navy
By the Bay 6 x 6 Designer Paper
Shimmery White
ink:
Night of Navy
Balmy Blue
accessories:
medium envelope- Basic White
TIPS:
-Cut Night of Navy 5 ½ x 6 ¼. Score at 2”.
-Cut Shimmery Whit 5 ¼ x 8 ¼. Score/fold at 4 1/8.
-Add Designer Paper to outside flap.
-Attach words to the front of the card. Then attach the words on the 2nd layer so they are hidden behind the 1st layer.
-Use Stampin’ Seal+ or Tear & Tape to attach the words on the front of the card.
Thanks for stopping by!
Click HERE to shop!
Happy Stamping!
Patrice
No comments:
Post a Comment